Portfolio Creation
How to Set Up Your GPhotos Gallery Website: A Step-by-Step Guide
Set up your GPhotos website: sign in, import photos, customize galleries, and share easily.
November 12, 2024

1. Visit the GPhotos.Site Website

- Navigate to gphotos.site.
- Click the blue button labeled “Start now."
2. Sign In with Google

- Sign in using your Google account that holds your photos.
- Complete the sign-in process and grant necessary permissions. Note: You retain full control over which photos G-Photos can access; the platform only views or imports the photos you choose.
3. Choose Your Website Name
- Enter a name for your site, which will be part of your website's domain (e.g.,
yourname.gphotos.site). - Click “Create Site.”
4. Explore the Editor Interface
- Familiarize yourself with the top navigation controls for editing and customization.
- You can modify text, add links, and adjust the presentation settings for your images.
5. Import Images

- Click “Import Images.”
- Select photos from your Google Photos account using the integrated import feature.
- Use filters and search functions to find specific albums, favorites, or tagged photos.
- Once photos are selected, click “Done” and return to the G-Photos editor.
- Monitor the upload progress in the displayed pop-up.
- Your gallery will automatically update with the selected photos.
6. Create and Manage Albums

- Go to “Manage Albums” and click “Create New Album.”
- Name your album (e.g., “Beach”), add a description, and choose a cover image.
- Repeat the process to create additional albums.
- Please note: Multiple albums are only possible with Basic and Pro accounts.
7. Set Up Your Gallery
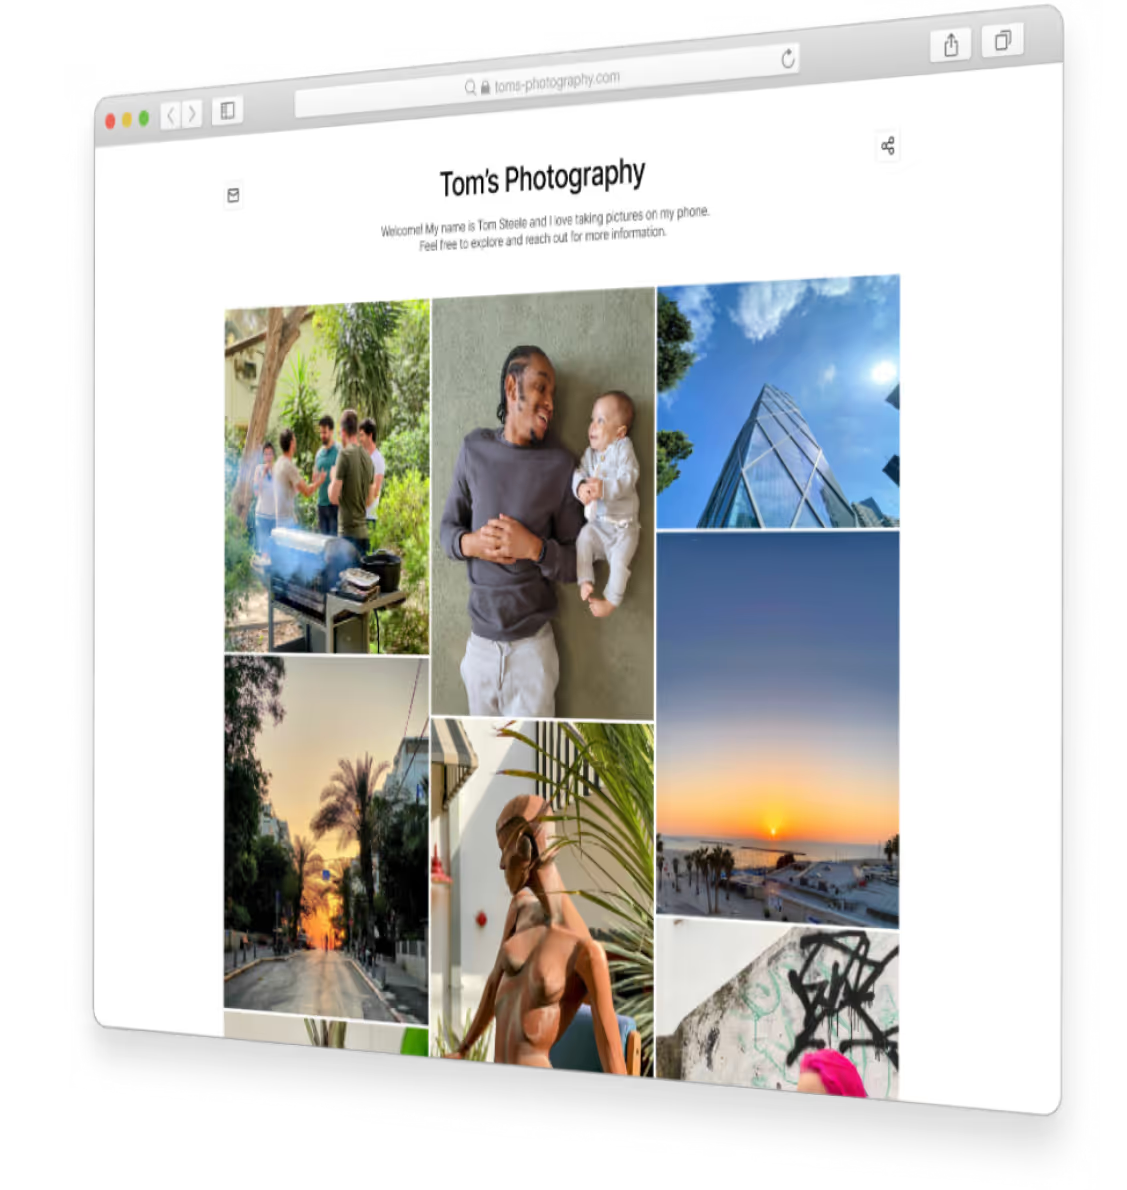
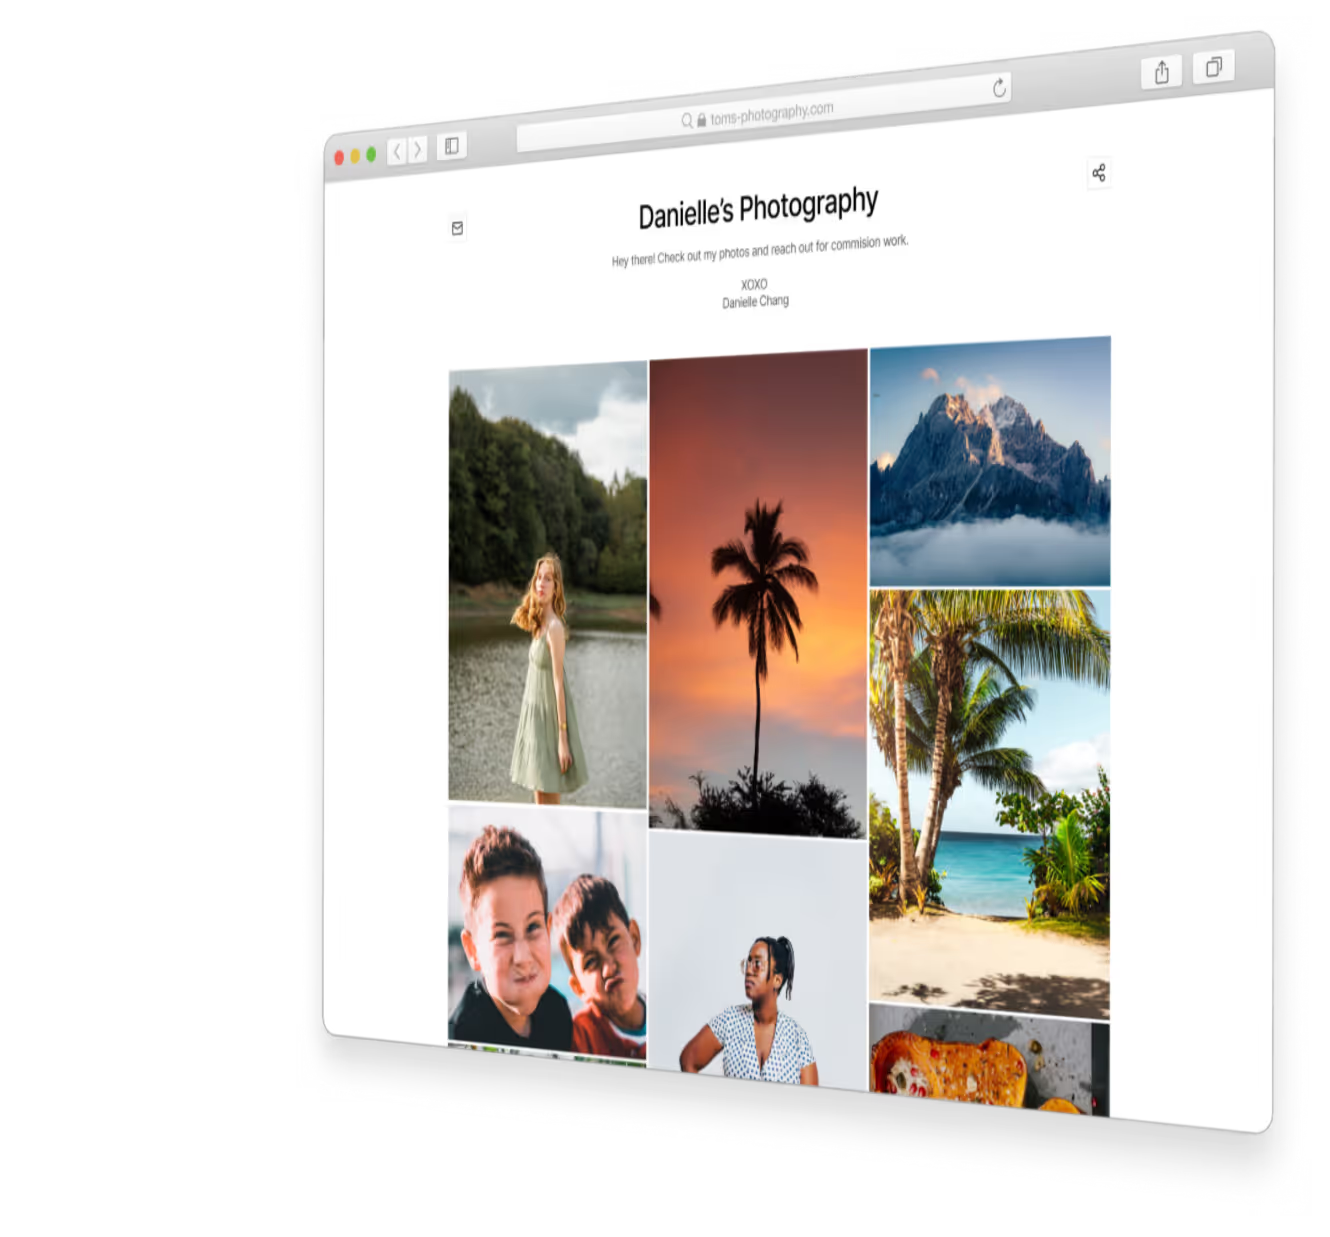
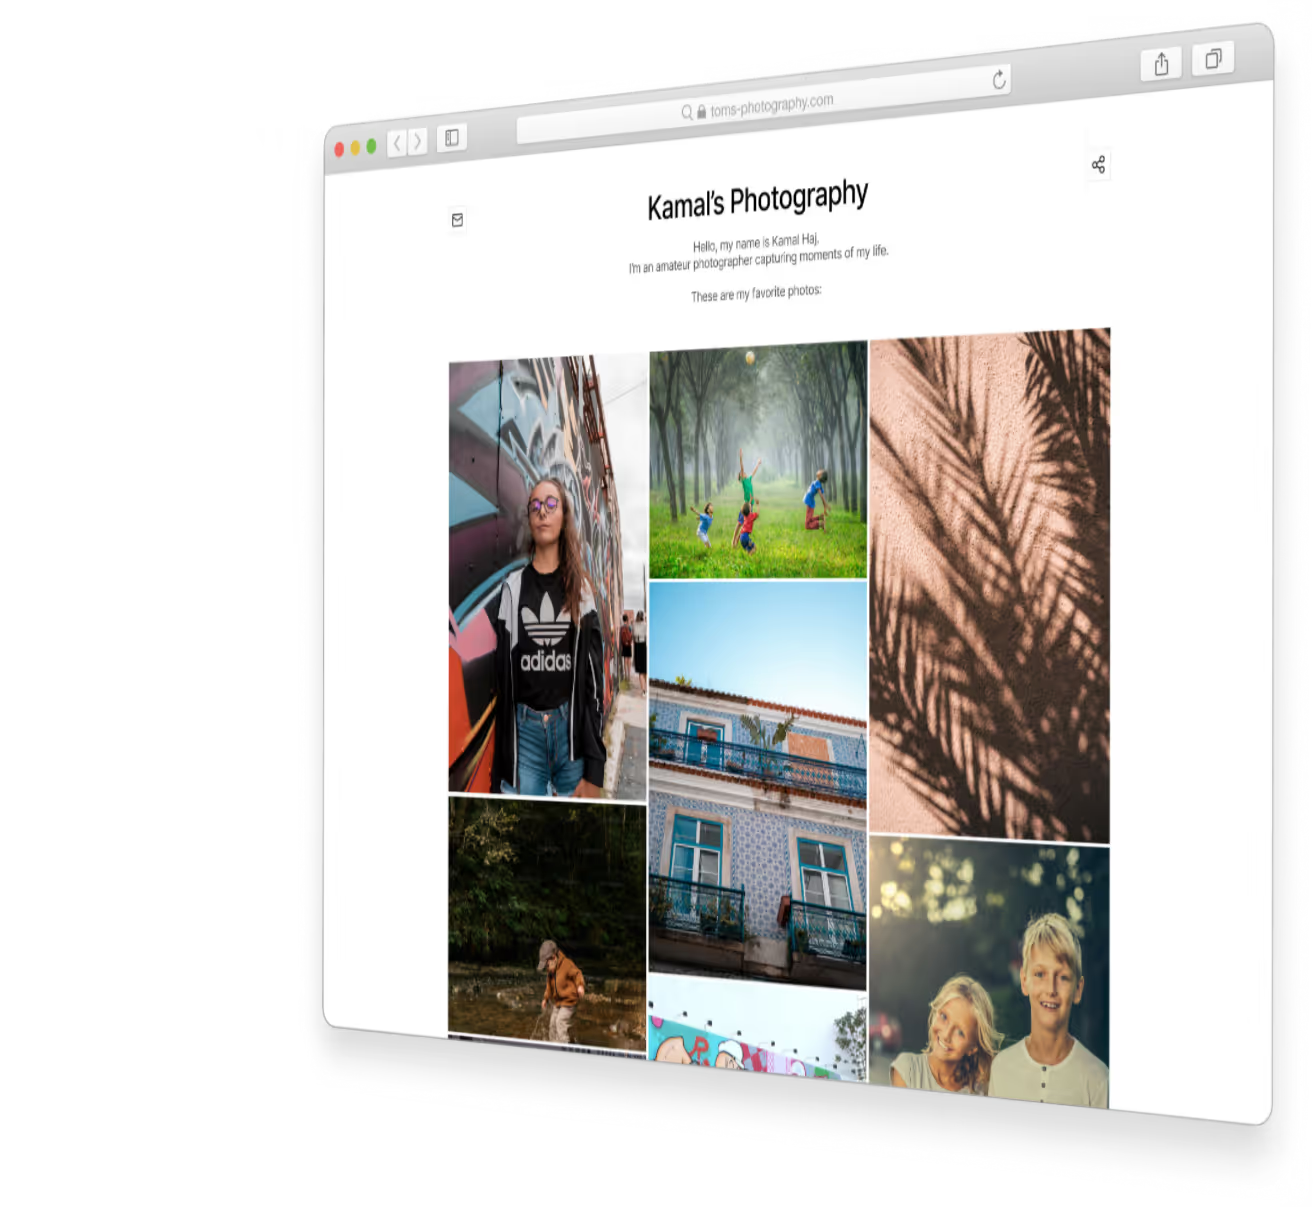
- Edit the website's heading and description by clicking the “Edit” buttons.
- Set sorting preferences (e.g., from newest to oldest) and choose the number of image columns in the gallery display.
- Enable and set links for the email, website and share buttons if needed.
8. Assign Photos to Albums

- Return to “Manage Images,” select photos, and assign them to relevant albums.
- Use filters to view unassigned images, ensuring photos are allocated correctly.
9. Preview and Share

- Navigate to your website's domain to see the final presentation.
- Copy the link to your gallery website and share it with friends, family, or your community via email, messaging apps, or social media to showcase your photos.
- Visitors can click on images for full-resolution views or scroll through your curated gallery.
Subscribe to our newsletter
Get our latest posts straight to your inbox.
Share your photography with the world today
Get a beautiful website to present your work.
Create your website in 3 minutes


